How to guides
Add lines
Add lines
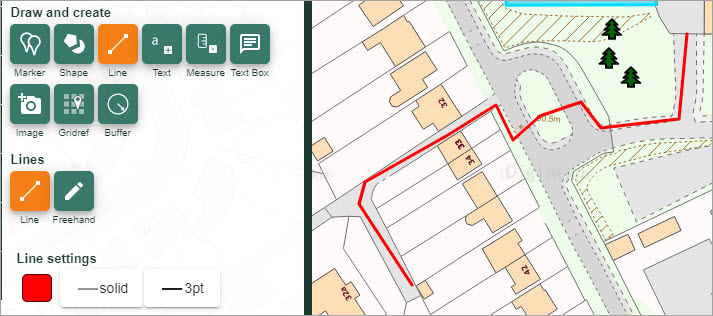
- Select the Line button from the Draw and Create menu.
- Select the Line option (highlighted in orange on the image below).
- Choose your line colour, type and width from the Line Settings menu.
- Click or tap on the map at the first point of your line.
- Keep clicking or tapping to add points.
- Double click or tap at the last point.
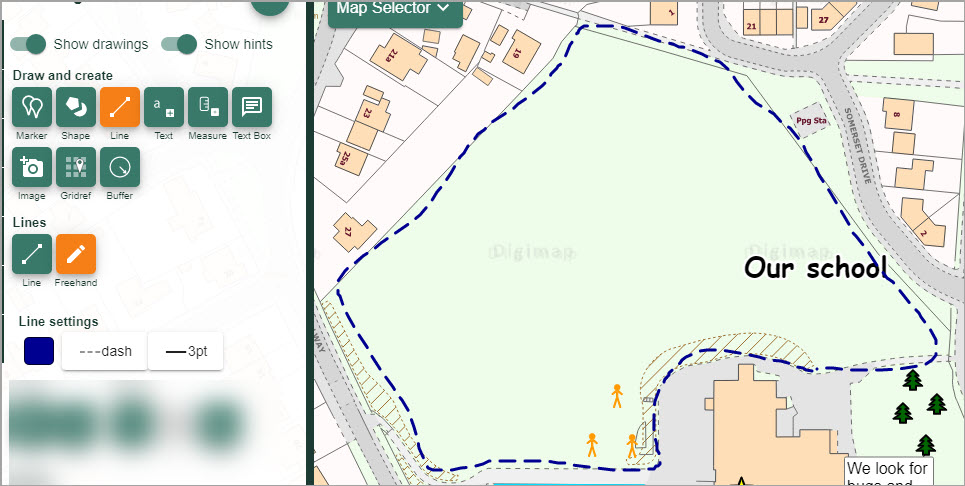
Add freehand lines
- Select the Line button from the Draw and Create menu.
- Select the Freehand line option (highlighted in orange on the image below).
- Choose your line colour, type and width from the Line Settings menu.
- Click on the map where you want to start.
- Hold the mouse down and drag to draw your line.
- Release the mouse when your line is complete.
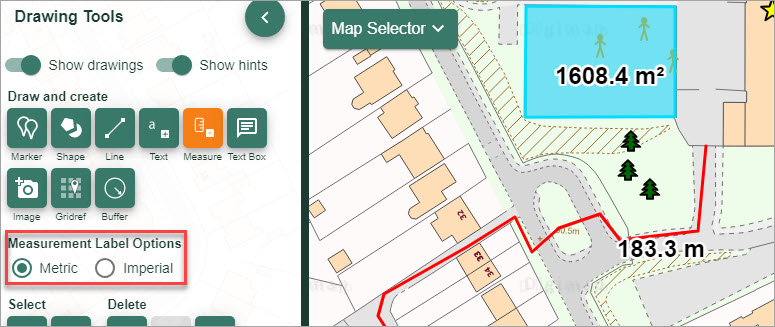
Add measurement labels to lines
- Draw a line on the map window.
- Select the Measurement button (highlighted in orange on the image below).
- Select Metric or Imperial.
- Select the line to add a label to.
- Your label should be visible on the map window.
- NOTE: You can only add measurement labels to lines that you have added, not features on the actual map.